There’s something special about the canning season in Minnesota.
By late August and into September, gardens are overflowing, farmers’ markets are full of fresh produce, and kitchen counters begin filling with tomatoes, cucumbers, apples, and berries waiting to be preserved. For many of us, canning is more than just a way to save food. It’s a tradition, a weekend project, and a way to enjoy the flavors of summer long after the first frost.
Around Farm City Supply, canning looks a little different for everyone. Kelly cans everything from pickles and beets to tomatoes, peppers, and salsa. Cassidy has tried her hand at corn, green beans, jams, jellies, and more. Leslie remembers helping her grandma when she was younger!
So, along with the basics, we’re sharing a few tips and traditions our team has picked up along the way.
Ingredient 1: Fresh Produce
Good canning starts before you ever pick up a jar.
The best canning starts with good produce, and if you’ve got a garden, you know how quickly “a few things are ready” can turn into a full kitchen.
We’ve all been there. Suddenly, every tomato is ripe at the same time, the cucumbers somehow doubled overnight, and the green beans are officially out of control. That’s when you know canning season has arrived in Minnesota.
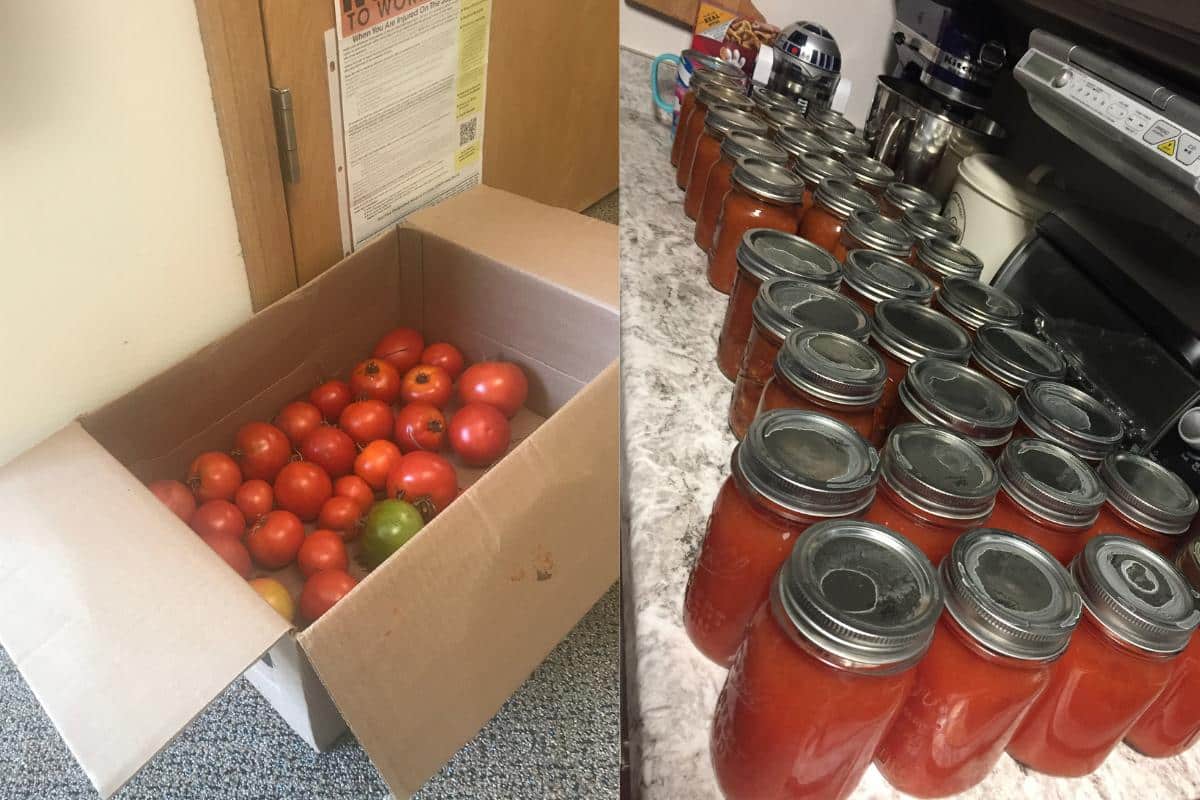
And if you’ve ever had a box of tomatoes sitting on the kitchen floor waiting for their turn, you know exactly what we mean.
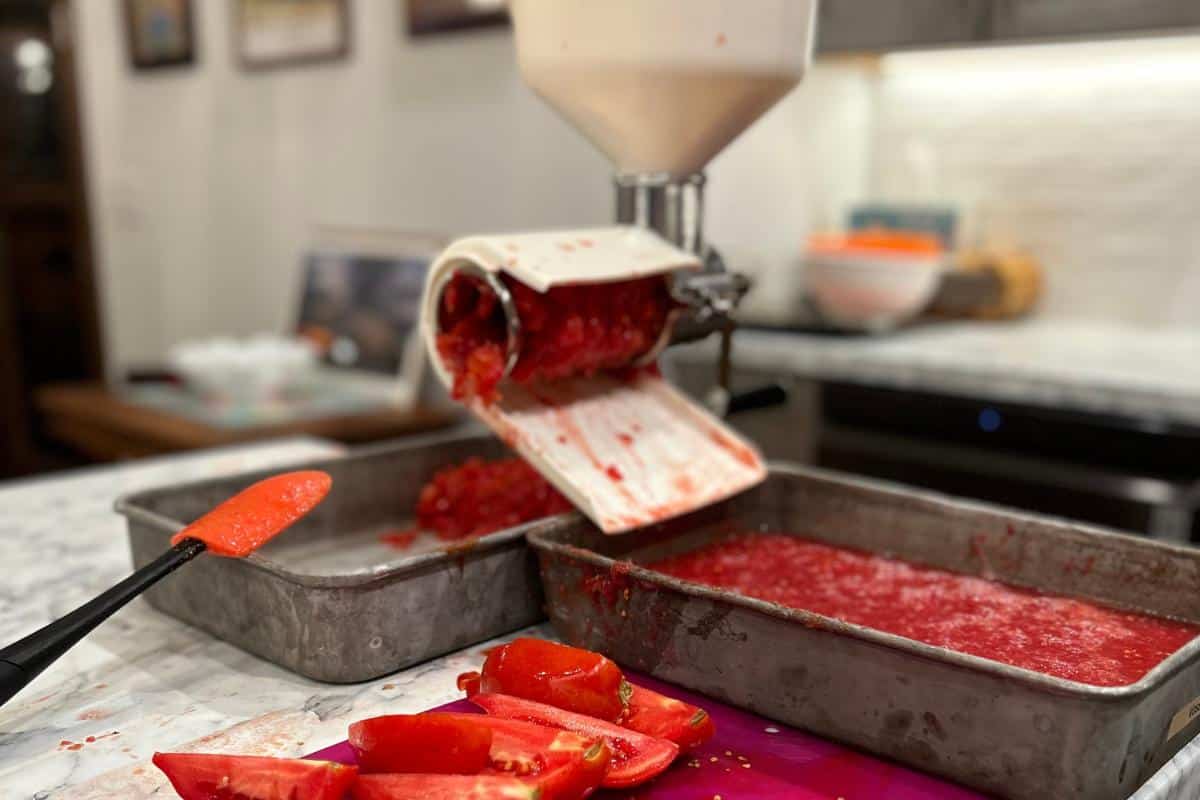
Before bringing everything into the kitchen, decide what you’d like to make. Trust us, planning your recipe first makes it much easier to gather the ingredients and supplies you’ll need.
Ingredient 2: The Right Canning Supplies
Nothing slows down canning day faster than realizing you’re one lid short. Before you wash your first tomato or fill the canner with water, take a few minutes to gather your supplies.
New to Canning? Start Here
You don’t need every canning gadget on the shelf to get started. A few basics will cover most first-time canning projects:
- The right canner: A water bath canner for high-acid foods like jams, pickles, and many fruits, or a pressure canner for low-acid foods like vegetables and meats.
- Canning jars, lids, and bands: Use jars made specifically for home canning and choose a size that works for your recipe.
- Jar lifter: This makes it much easier and safer to move hot jars in and out of the canner.
- Canning funnel: Helps get food into the jars with less mess around the rim.
- Bubble remover/headspace tool: Helps remove trapped air and measure the headspace your recipe calls for.
- A tested canning recipe: Especially when you’re new, follow a trusted recipe and its recommended processing method and time.
Start with the essentials, then add tools as you discover what makes the process easier for you. And if you’re not sure what you need, stop by Farm City Supply. We can help you get your first canning setup together.
Kelly’s Canning Tip: Pick the Right Jar
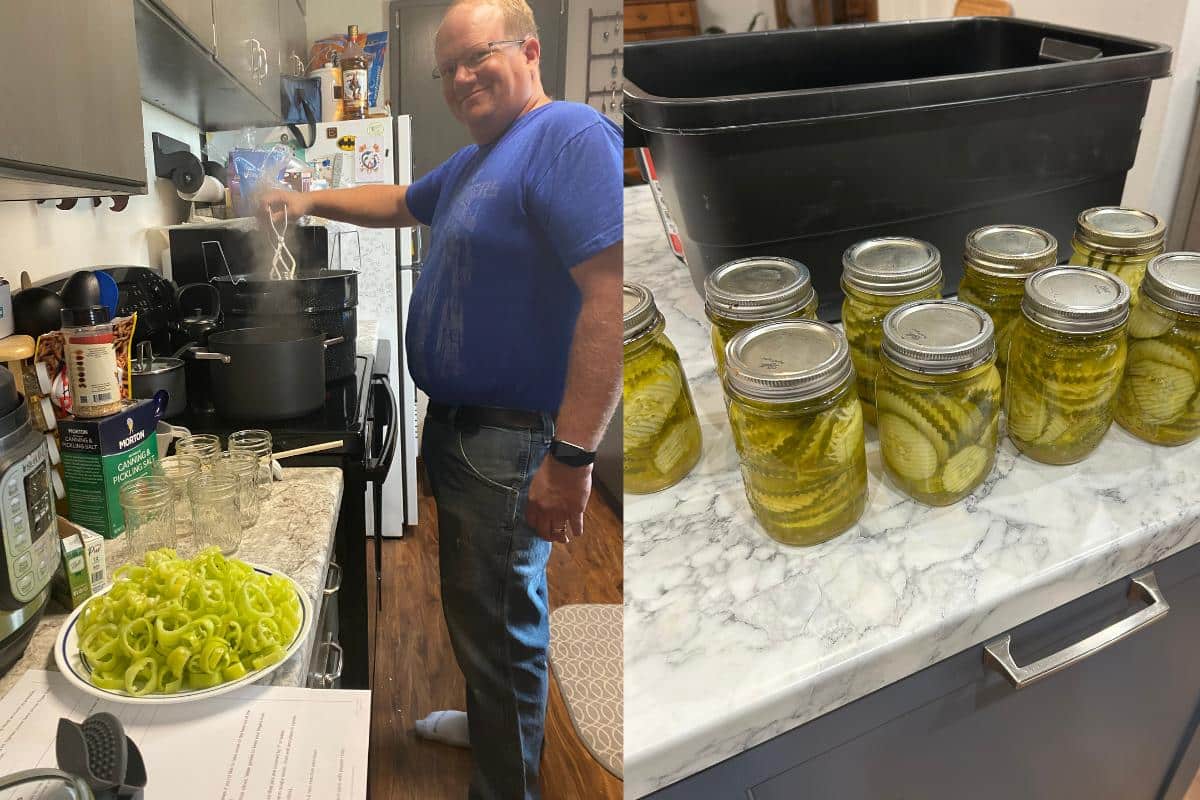
Kelly cans pickles, beets, tomatoes, peppers, and salsa, and one of his tips is simple: match the mouth of the jar to what you’re putting inside.
Regular-mouth jars work well for foods that are easy to pour out, like salsa, tomato sauce, or chili base. Wide-mouth jars make life a little easier when you’re working with bulkier foods like beets, pickles, and green beans.
It might seem like a small choice when you’re standing in front of the Ball jars, but you’ll appreciate it when it’s time to fill and empty them.
Ingredient 3: A Tested Recipe
One of the most important ingredients isn’t something you buy.
A trusted recipe is one of the best tools you can have during the canning season.
Many family recipes have been passed down for generations, and that’s part of what makes canning so special. At the same time, canning recommendations have changed over the years as more research has become available. If you’re using an older recipe, it’s worth comparing it to a current tested recipe to make sure the processing times and methods are still considered safe.
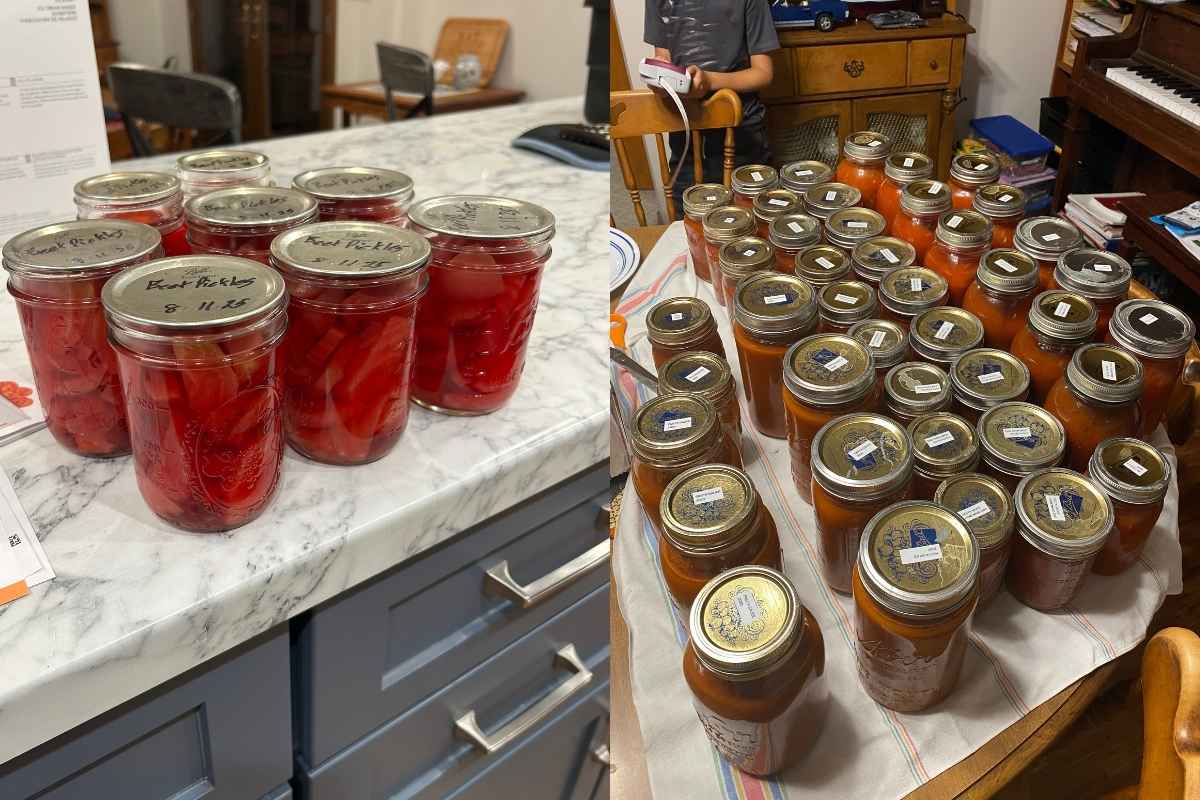
Start with a current tested recipe, follow the directions closely, and learn as you go. Once you get comfortable with the basics, trying something new can be half the fun.
Team Example: Cassidy has tried a little bit of everything over the years, including corn, pickles, green beans, beets, jams, and jellies. You might find a new favorite, or you might decide one batch was plenty. Either way, that’s part of the canning season.
Ingredient 4: The Right Canning Method
This is probably the question we hear most every canning season.
“Do I need a water bath canner or a pressure canner?” The answer depends entirely on what you’re preserving.
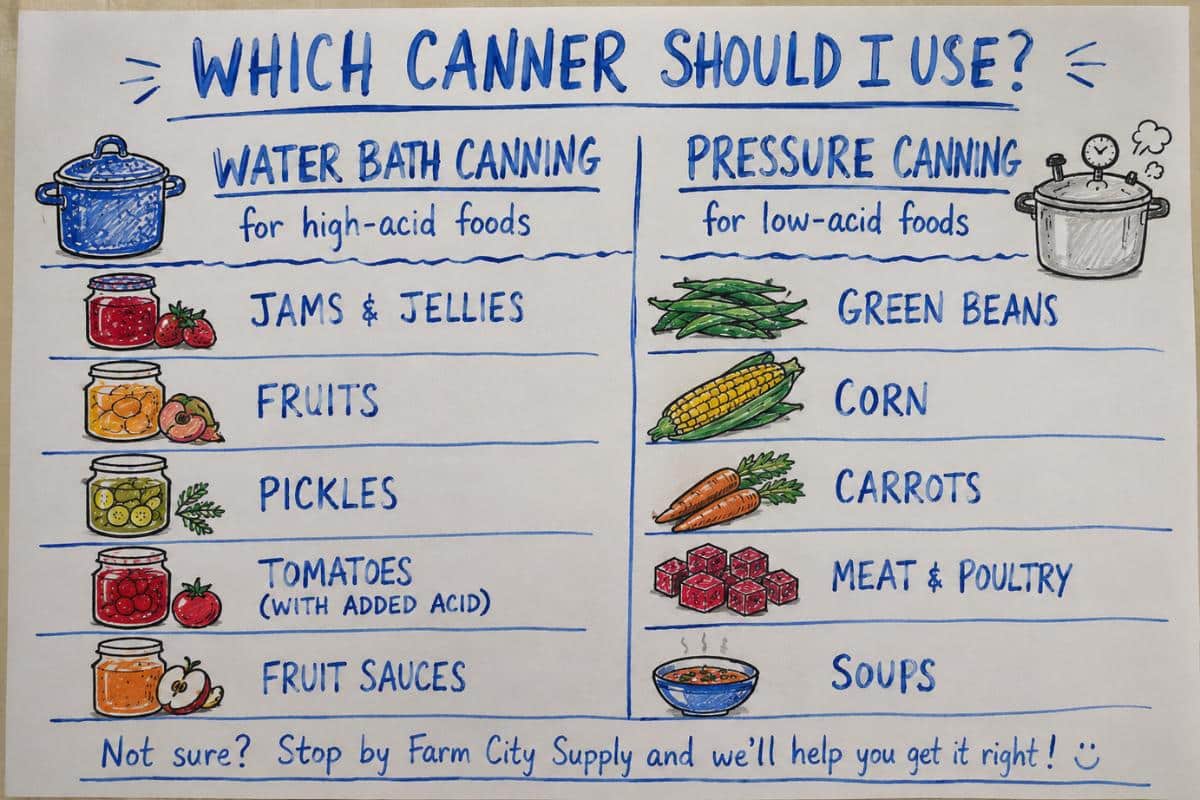
Tomatoes are one of the biggest sources of confusion because not every recipe is the same. Some require bottled lemon juice or citric acid, while others have different processing instructions altogether. That’s why it’s always best to follow the recipe you’re using instead of assuming every tomato recipe follows the same process.
Not sure which method you need? Stop by Farm City Supply and ask. We’re always happy to help you figure it out before canning day!
Ingredient 5: Patience and the Little Details
Most canning mistakes happen in the last five minutes, not the first five.
By the time you’re filling jars, you’ve already spent hours planting, growing, harvesting, washing, chopping, and cooking. It can be tempting to rush the final steps, but this is where slowing down really pays off.
A few simple habits can help every batch turn out better:
- Measure the correct headspace.
- Remove trapped air bubbles.
- Wipe the jar rim clean before placing the lid.
- Follow the recommended processing time.
- Let jars cool undisturbed before checking the seal.
Sometimes the best canning tip is simply taking your time. A few extra minutes now can help ensure your jars seal properly and your hard work doesn’t go to waste. This may or may not be advice learned from experience…
Leslie’s Tip: Get the whole family involved! Leslie remembers helping her grandma can when she was younger. With plenty of washing, chopping, filling, and labeling to do, an extra set of hands can make canning day easier and turn it into a family tradition along the way.
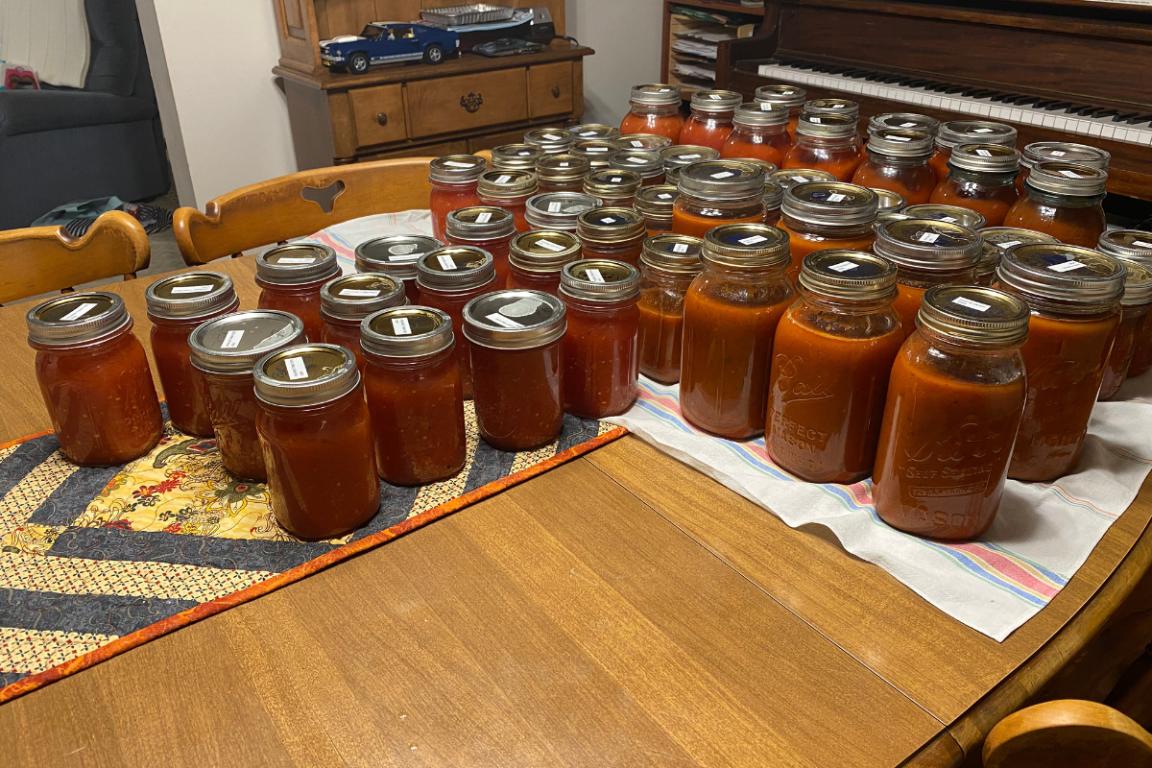
The Finished Product: A Full Pantry
There’s something incredibly satisfying about opening the pantry in the middle of winter and seeing rows of jars filled with food you preserved yourself.
But canning is about more than what ends up in the jar. It’s the afternoon spent in the kitchen with family, the recipes passed down over the years, and the satisfaction of eating something you worked hard to make yourself. Those are the parts of the canning season that tend to stick with you.
Every jar has a purpose: homemade salsa for football season. Strawberry jam for weekend breakfasts. Pickles for family cookouts. Tomato sauce ready for a cold evening!
And after all that work, a few simple steps can help keep everything organized and ready to enjoy.
Team Tip: Before putting your jars on the shelf, take a few minutes to:
- Check that each lid is sealed properly.
- Label every jar with the contents and date.
- Store jars in a cool, dry, dark place.
- Rotate older jars to the front so they’re used first.
A little extra care at the end helps keep canning day running smoothly, so you can spend more time enjoying the food, the tradition, and everything that comes with it.
Ready for Your Next Batch?
Whether you’re replacing a few lids, stocking up on Ball jars, or getting ready for your biggest canning season yet, Farm City Supply has the supplies you need to preserve your harvest with confidence.
If you’re not sure which canner, tool, or supply you need, stop by and ask. We’d be happy to help you find the right fit for your next recipe.
Canning FAQs
What canning supplies do beginners need?
Beginner canners should start with the correct canner for their recipe, canning jars, new lids and bands, a jar lifter, canning funnel, bubble remover or headspace tool, and a current tested canning recipe.
What is the difference between water bath canning and pressure canning?
Water bath canning is commonly used for high-acid foods such as jams, jellies, pickles, many fruits, and properly acidified tomato recipes. Pressure canning is required for low-acid foods such as green beans, corn, carrots, meats, and soups because they must reach a higher temperature for safe preservation.
Do tomatoes need to be pressure canned?
It depends on the tested recipe you are using. Some tomato recipes use a water bath canner with added bottled lemon juice or citric acid, while others may have different processing requirements. Always follow the method and processing time listed in a current tested recipe.
Should I use regular-mouth or wide-mouth canning jars?
Regular-mouth jars work well for foods that are easy to pour, such as salsa or tomato sauce. Wide-mouth jars can make filling and removing bulkier foods like pickles, beets, and green beans easier.
Where can I find canning supplies in Minnesota?
Farm City Supply in Breckenridge, Minnesota carries canning supplies including jars, lids, canners, and canning tools. Stop by the store or contact the Farm City Supply team for help finding supplies for your next canning project.